Friday, October 18, 2019

Cutting the firewall

I started cutting the firewall last year, about this time. The problem with cutting the firewall is that there are two sheetmetal stampings that seem to be valuable. I saved all of the sheetmetal that was cut out. I'll keep it around just in case someone wants to go back to the way the car was originally.


First cut is done, and the stiffening rail is being removed slowly at the spot welds.


Sheetmetal removed. There will be some trimming when placing the Coyote.

Friday, October 4, 2019

Coyote Assembly Part 3

I had a very slight problem when I installed the heads. Thinking the pistons would definitely clear the heads without issue, I installed the heads. The installation proved to be a complete disaster. The rotating assembly wouldn't turn over! I realized there was something seriously wrong and deduced it was due to piston/head interference. I called Mahle, and they explained there was a bad batch of pistons that went out of their facility. They offered to send me a brand new set of pistons to replace the set that I had. The only thing I was out was the head bolts since they are a one-time use as well as head gaskets. The new head bolts were still cheaper than head studs, so I counted myself lucky.

Tuesday, October 1, 2019

Coyote Assembly Part 2

I had the heads rebuilt by a local guy with lots of head rebuilding experience. He knew what to do with the head. I installed Manley stainless valves, Boss 302 springs, and other new hardware as needed. The heads were surfaced at the same time by a very small amount.

Saturday, September 28, 2019

Coyote Assembly Part 1

Assembly of the short block took a lot of time.  Next time, I'll let someone else assemble this part. 


Each piston assembly is laid out and assembled. Getting the circlips on the pistons was no fun but a big highlighter pen helped my thumbs. Each ring was filed to fit the clearance requirements. I tried to be extra careful to avoid burs and keep the filing square to the ring.

Saturday, December 15, 2018

Adding a Fuel Filler on the Gill

I haven't posted in a while. It's hard to have a blog that is about a specific serial-numbered car when you don't have it anymore.  I've decided to keep going on the blog, even though I no longer own #1998. My goal is to keep updating daily for a few weeks to catch up with the current state. As a preview, the Coyote was rebuilt, the new chassis has a cut firewall, and new shocks were installed. I also sold a bunch of parts to keep going with the build, knowing that it will only get me so far. However, I can do a lot with what I currently have.  The new chassis doesn't need body work like the last one did.

The new chassis needs a fuel filler door since I have all late-Ford-era parts, not to mention the safety of the whole thing.


I cut the driver's side gill area, slowly cutting just the minimum. I decided on an aircraft-style filler, black anodized to blend into the gill better.


The new aircraft style fuel filler had screws that were clocked to orient the filler tab back, as this seemed to look the best.


Finished product, but not completely installed. 

Monday, June 4, 2018

The Trade

I traded my car body!

Here's the new, replacement car:


I now own a 1973 Pantera, which is different than my old car but still not too bad. I hauled the old car to Oklahoma City to meet up with Kirk Evans, who traded me for this car. He now owns 1998, which is fine with me. He has the skills to rebuild the entire car, so let him have it!

The new car is in much better shape than 1998. Much better shape is an understatement; the car is mostly original. The rear quarter panel has been replaced on the right side, and some work has been done on the decklid and left rear corner. Kirk added gussets and welded key areas, including welding up the unnecessary holes in the rear wheelhouses. There are a couple wrinkles that I hope to correct, such as in the firewall on the right side as well as in the rear wheelhouse. However, rust is minimal throughout the car and it all seems to be in excellent condition.

I've been working on the Coyote engine, so stay tuned for some updates on the engine progress.

Thursday, May 24, 2018

Time to Sell (or Trade?)

On March 21st, I got a call from the body shop. The body guy told me that my car was beyond financial feasibility to fix, and that I should find another car. I was heartbroken, to say the least. I feel cheated in so many ways!

Wednesday, February 28, 2018

Weber 48 IDF Intake for the 351C

I picked up an Aussiespeed intake for the 351 Cleveland from a guy in Texas that is importing them and selling them on eBay.  I like the fact that he has been importing these and saving everyone on on shipping.  Even though I'm working on a Coyote, I'm also keeping my 351 for originality.  If I decide to go back to stock, then Weber IDF carburetors are the way I'd like to go.  The Aussiespeed intake is a great way to go with Weber carburetors. Unlike the 48 IDF manifold from Hall Pantera, the IDF manifold is a lot shorter.  See the manifold measurements here.  Interesting that they have put my blog as a link there! I put the 40 IDF body I have on the intake to see how it fits.


I also found two brand-new 48 IDF's for a good deal on the internet.  I picked them up and will post when I receive them.  I plan to buy two more, but unless I can find them new, I'll just buy two brand-new from Redline.

I also plan to pick up all of the jetting and linkage needed from Jim Inglese. Jim understands the unique Pantera aspect and builds Weber setups with this intake manifold, and he agreed to sell me the linkage & jetting. My philosophy is that one day, these manifolds, etc. will be gone and I will have missed the boat.


Tuesday, January 16, 2018

Updates


Suspension was reinstalled. Note stablemate #2511 in the background.


New wheels look small!  The car was put on the frame rack but removed once it was determined that the previous baseline measurements from another car were illegible and needed to be redone.  This is how my car sits today.


I tore the engine down to a bare block and decided to rebuild the entire thing.


Crank removal.  The crank looks great, with minimal wear on each journal.


New Manley H-beam rods with ARP 2000 bolts were purchased.  Ford Racing uses these rods in their Aluminator engines, and I'm confident that they will be fine in my engine.


Mahle forged M142 alloy pistons were purchased 0.010" oversized to fit a machined block.  The Mahle pistons are 11.3:1 and have a 1mm/1mm/2mm ring pack and coated skirts. The M142 alloy is unique in that it combines the best of the 2618 alloys with the low-expansion 4032 alloys.  This means low noise and good service life while coming close to the ductility of 2618 pistons.

Thursday, July 27, 2017

Coyote Engine Teardown, Part 3

I decided to tear the engine down further, not trusting what I was seeing in the cylinder bores.  The plan is that if the bores need only honing, I may just replace the rings and have the block honed & surfaced.  If the bores need more than honing, I will consider new forged pistons and rods. 

Wednesday, July 26, 2017

Coyote Engine Teardown, Part 2

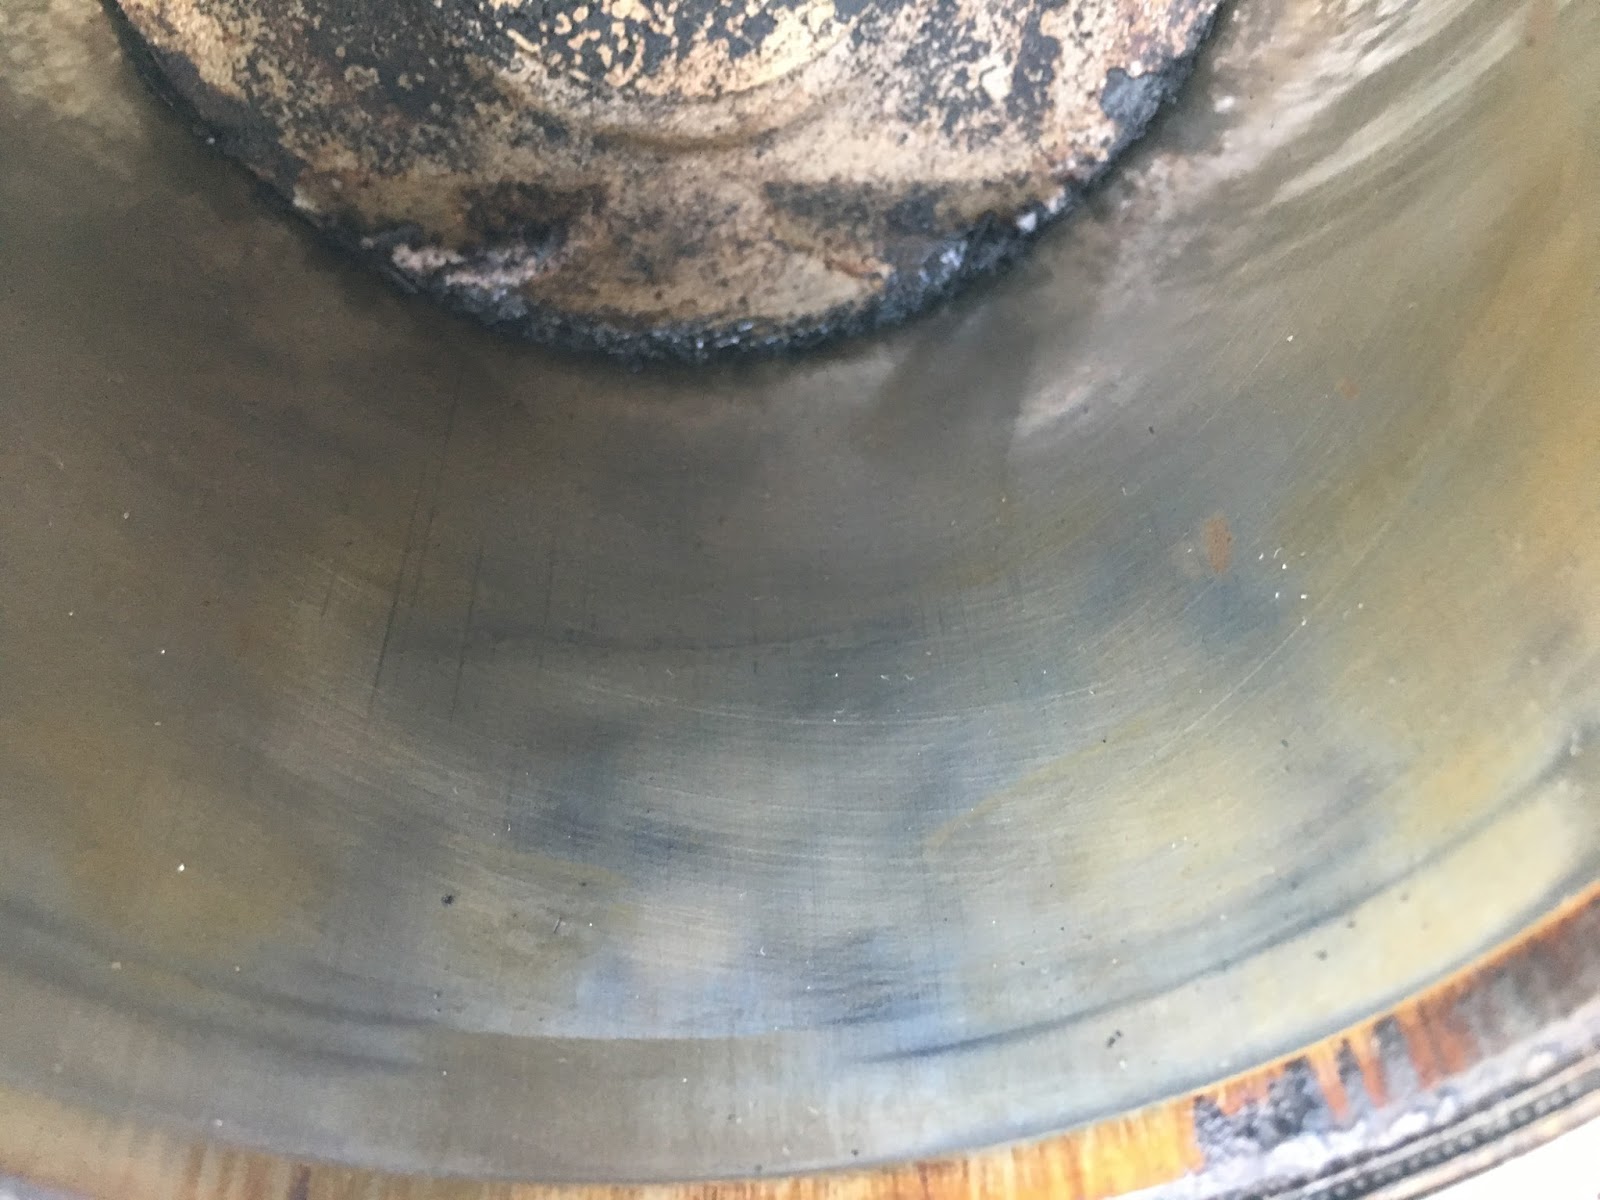
The Coyote engine cylinder walls weren't as good as I had hoped.  This means a further tear down.  Pictures of each cylinder wall:

Tuesday, July 25, 2017

Coyote Engine Teardown, Part 1

I decided to tear down the Coyote and rebuild it while the car chassis is in Oregon. 


Here's the engine with the intake and injectors removed. 

Monday, July 24, 2017

After Blasting

I was really unhappy with the rattle-can undercoating applied by the previous owner, in an effort probably to hide some of his handiwork.  It's all gone now.


Note the rear corner issues. 

Saturday, July 22, 2017

At the Blaster

Well, part of my car returned.  The trip to the blaster took two full months, from May 12 to July 10th or so.  I'm told the blasting operator had surgery and was unable to finish the car.  

Stay tuned, I have about five more posts being readied to release in the next few days!


Looks pretty good, but needs more blasting.

Thursday, May 11, 2017

Rockers and Front Clip Removed

Another hot and heavy day in the shop!  The outer rocker sheetmetal was removed, as was the entire front outer sheetmetal, minus the cowl vent area.


Here's the car, with the front clip and rocker sheetmetal removed, minus the front valance.

Wednesday, May 10, 2017

Roof Scalped!


 Looks like the roof skin is gone and the rear panels sanded off. 


The three metal bars in the picture are not stock and will be removed.


The rear has been sanded and all filler removed.


The front clip will be removed and then the car will be taken to a blaster who will clean off all of the undercoating as well as blast the roof rust away.  After blasting, work will begin on the lower rockers and the upper A-pillars.

Thursday, April 6, 2017

Car Goes to Finn's Auto Restoration in Oregon

I loaded the car up and took it to Denny Finn w/ Finn's Auto Restoration, in Woodburn, Oregon.  Here's a few pics:

Denny's shop has several Panteras in it, as I took this screenshot of his new website.  He plans to take another picture with seven Panteras being repaired in the same shop.


Here's Larry Finch's car as it was delivered to his shop.

Friday, March 3, 2017

What Came Back From Blasting

I took the car to the blaster. Here's what came back...


Wednesday, February 22, 2017

Loading the Shell

We loaded the shell onto a trailer on Saturday in preparation to take the car to the media blaster to see what's hiding under the body filler.


Monday, January 9, 2017

Seat Test Fit

I put the Recaro seats in the car as I was fitting the firewall reinforcement:


I like how they look!


I'm test fitting the seats.


My son and I took a (rare for me) selfie.  


I have a pair of Corvette C4 seats that I won't be using.  No idea what to do with them.